
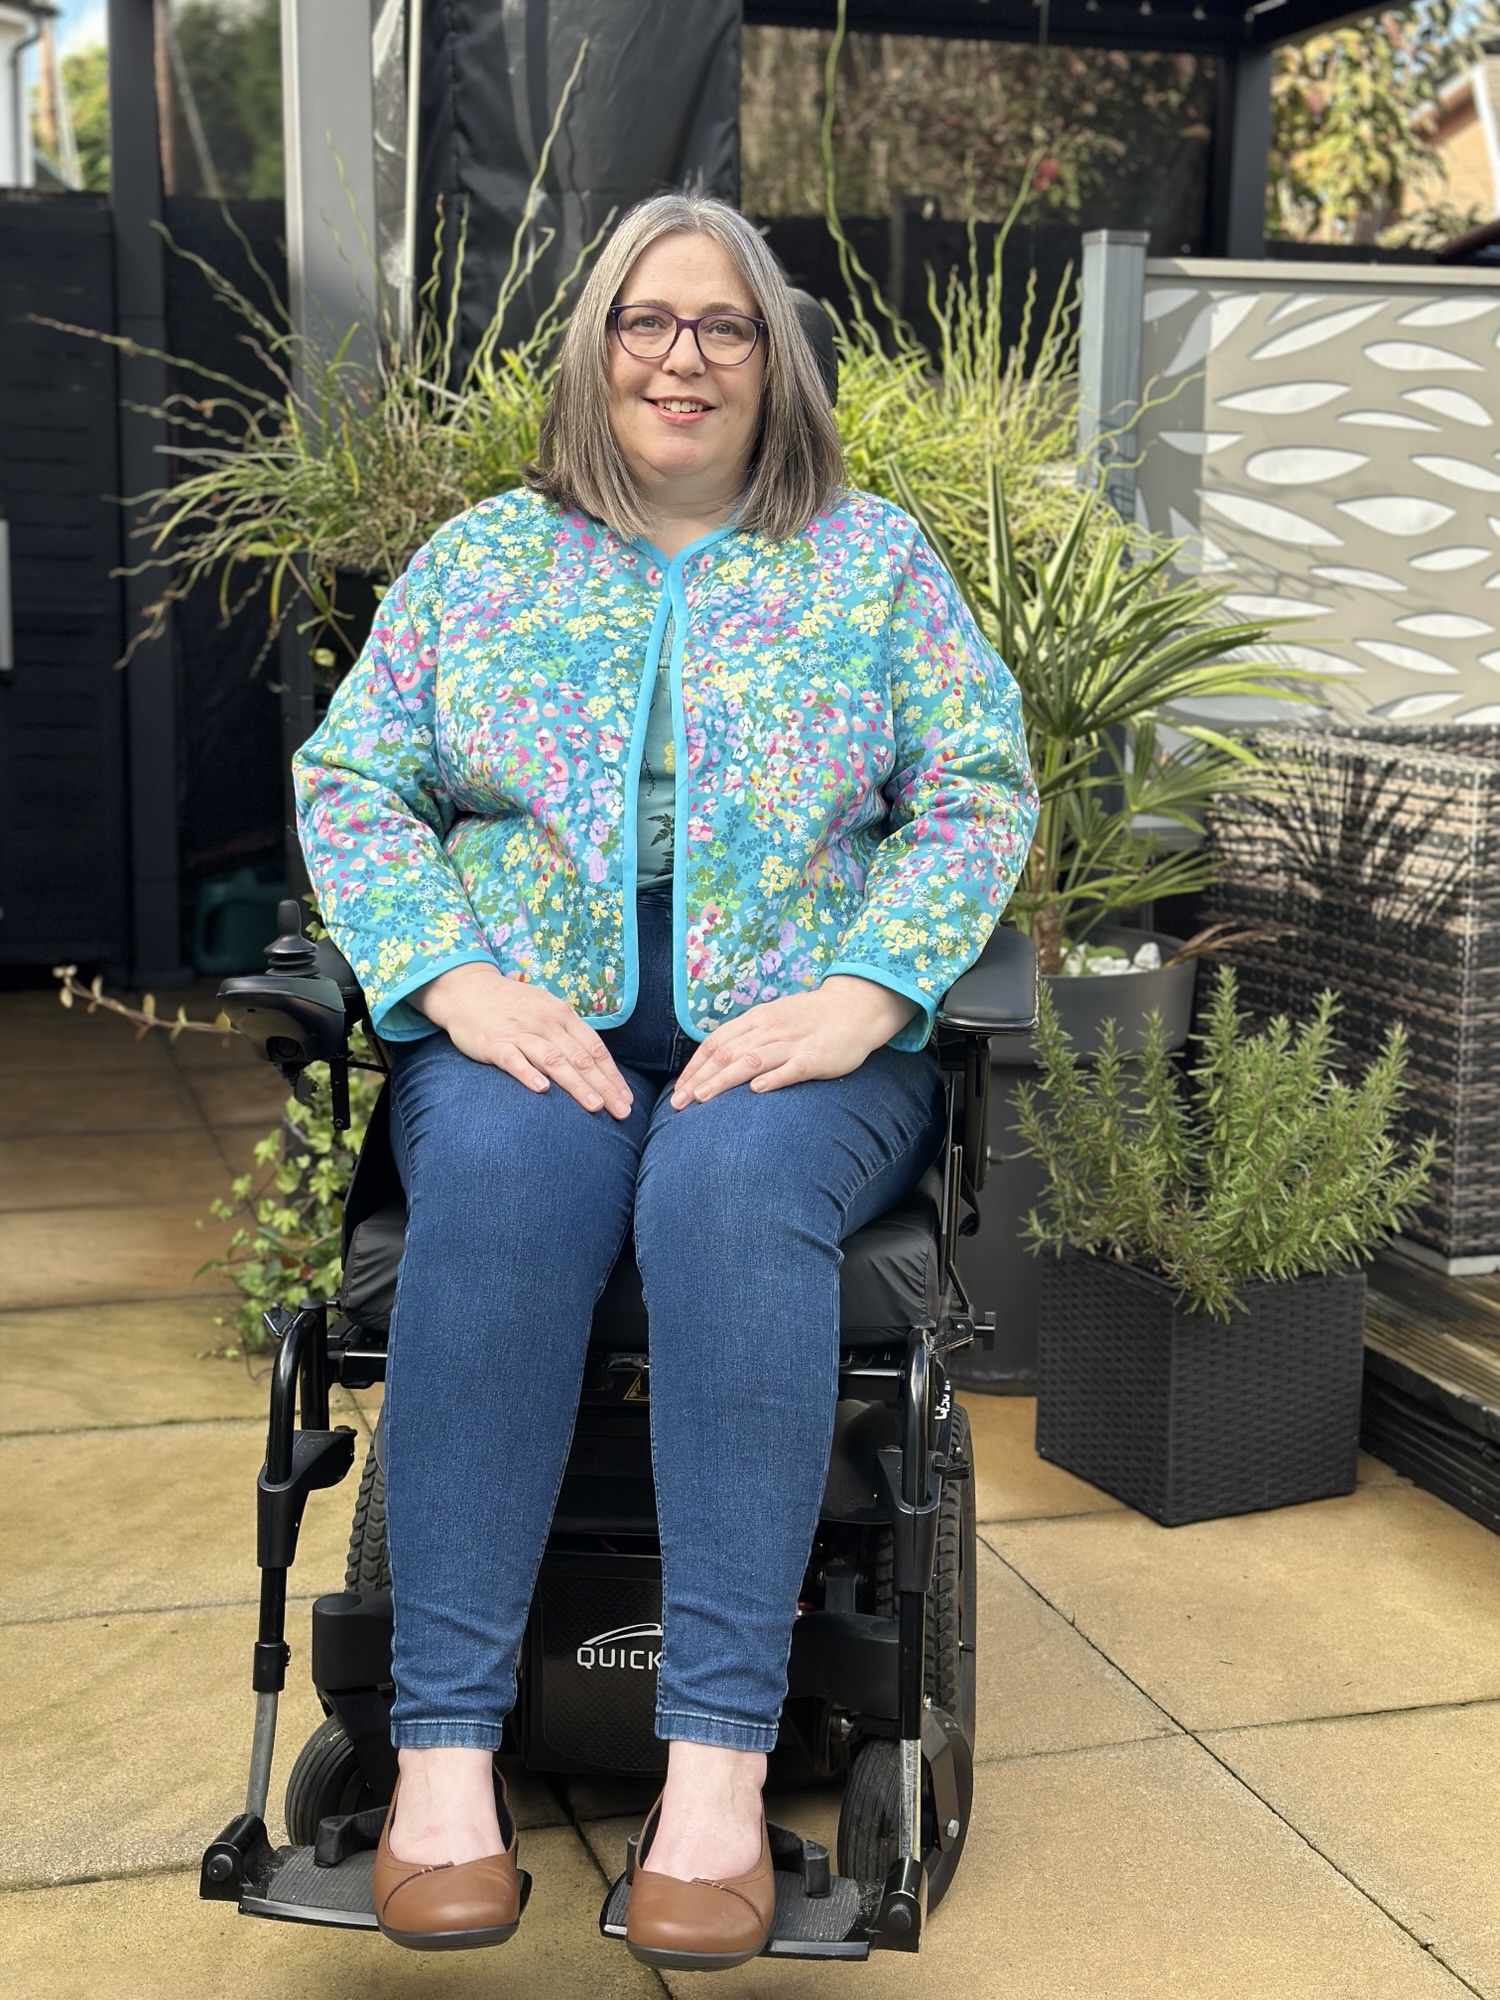

As I mentioned in my previous post I spent a long time deliberating over what to make with my gorgeous Ambassador fabric this month. It’s the beautiful Floral Exuberance from Minerva’s Exclusive Organic Stretch Woven Cotton Sateen collection and it’s so pretty, the colour combinations really appeal to me. I had initially envisioned making a Victoria blouse with it but then realised that the fabric was a little too crisp for this.
I finally decided on the Fairfax Jacket from Jenny Rushmore’s book ‘Sewing The Curve’ and I’m so glad that I did because I absolutely love it. It’s a jacket that’s designed especially for curvy figures and quite unusually for a quilted jacket has bust darts for shaping. I opted for the shorter version so that I wouldn’t be sat on excess fabric and was really pleased with the finished length.
I have to admit, I’ve hardly got any experience of quilting and was quite nervous about this one. But thankfully Jenny provides lots of clear instructions and there is also a sew along. I found my walking foot invaluable for keeping the layers of fabric and batting moving smoothly under my presser foot. I opted for a matching thread for my quilting, I thought it best to play it safe for my first attempt but will definitely consider a more contrasting thread in the future.

I thought I’d followed the instructions properly and was really proud of the quilting of my fabric all the lines were straight and I was feeling pretty smug ……..that was until hubby had cut out my pattern pieces, then I realised that the sewing lines of the quilting were supposed to run horizontally not vertically! I hadn’t even given it a thought, I can’t blame MS brain fog either, I possibly wasn’t concentrating properly enough to follow the instructions more closely. But honestly, I just assumed that they were vertical. (In my mind I just thought horizontal quilting would leave me looking like the Michelin man)
Well it was far too late to do anything about it by this point so that’s what I went with and I have to say I’m pleased with the result and I do like it like this. Vertical quilting can be a thing, right?
Once I’d got over my panic and calmed myself down, I set about making my bias binding, a task that was made so much easier by my wonderful bias binding machine. I really recommend this gadget if you use a lot of binding, it really does make the job so much quicker and easier.
I could have also used bias binding to finish the internal seams but I opted to keep things simple and overlocked them instead. Maybe next time I make this jacket I’ll give that a go.
I’m so pleased at my first attempt at quilting and I’m so in love with the fabric that I know this jacket will be getting lots of use. For now though, it’s sat on ‘Mimi’ my dressform so I can keep admiring it.

Wheelchair Considerations.
The length of the jacket is perfect for my chair but can easily be adjusted to suit your requirements.
The sleeves are roomy enough to give plenty of movement but snug enough to not get caught up on joysticks or wheels.
The jacket folds easily to be stored in a bag.
#MinervaBrandAmbassador , #MinervaMakes , #MinervaMakers , #MinervaExclusiveFabric , #FloralExuberance , #CashmerettePatterns , #FairfaxJacket , #NewbieQuilter , #IWearWharISew , #MakingBiasBinding , #FairfaxJacketSeated , #DisabledSewist , #SewingDisabled , #ChronicallySewn , #SewEnabled .
Use my Affiliate code ‘MSS243YC to get 10% off your next Minerva order (exc delivery). I will receive a small commission from any order you place so would be very grateful if you use the code😁


(Image Description: There are six images taken from different angles showing Yvonne seated in her wheelchair. She is wearing blue jeans and a waist length quilted jacket with co-ordinating bias binding trims.)
Leave a Reply