
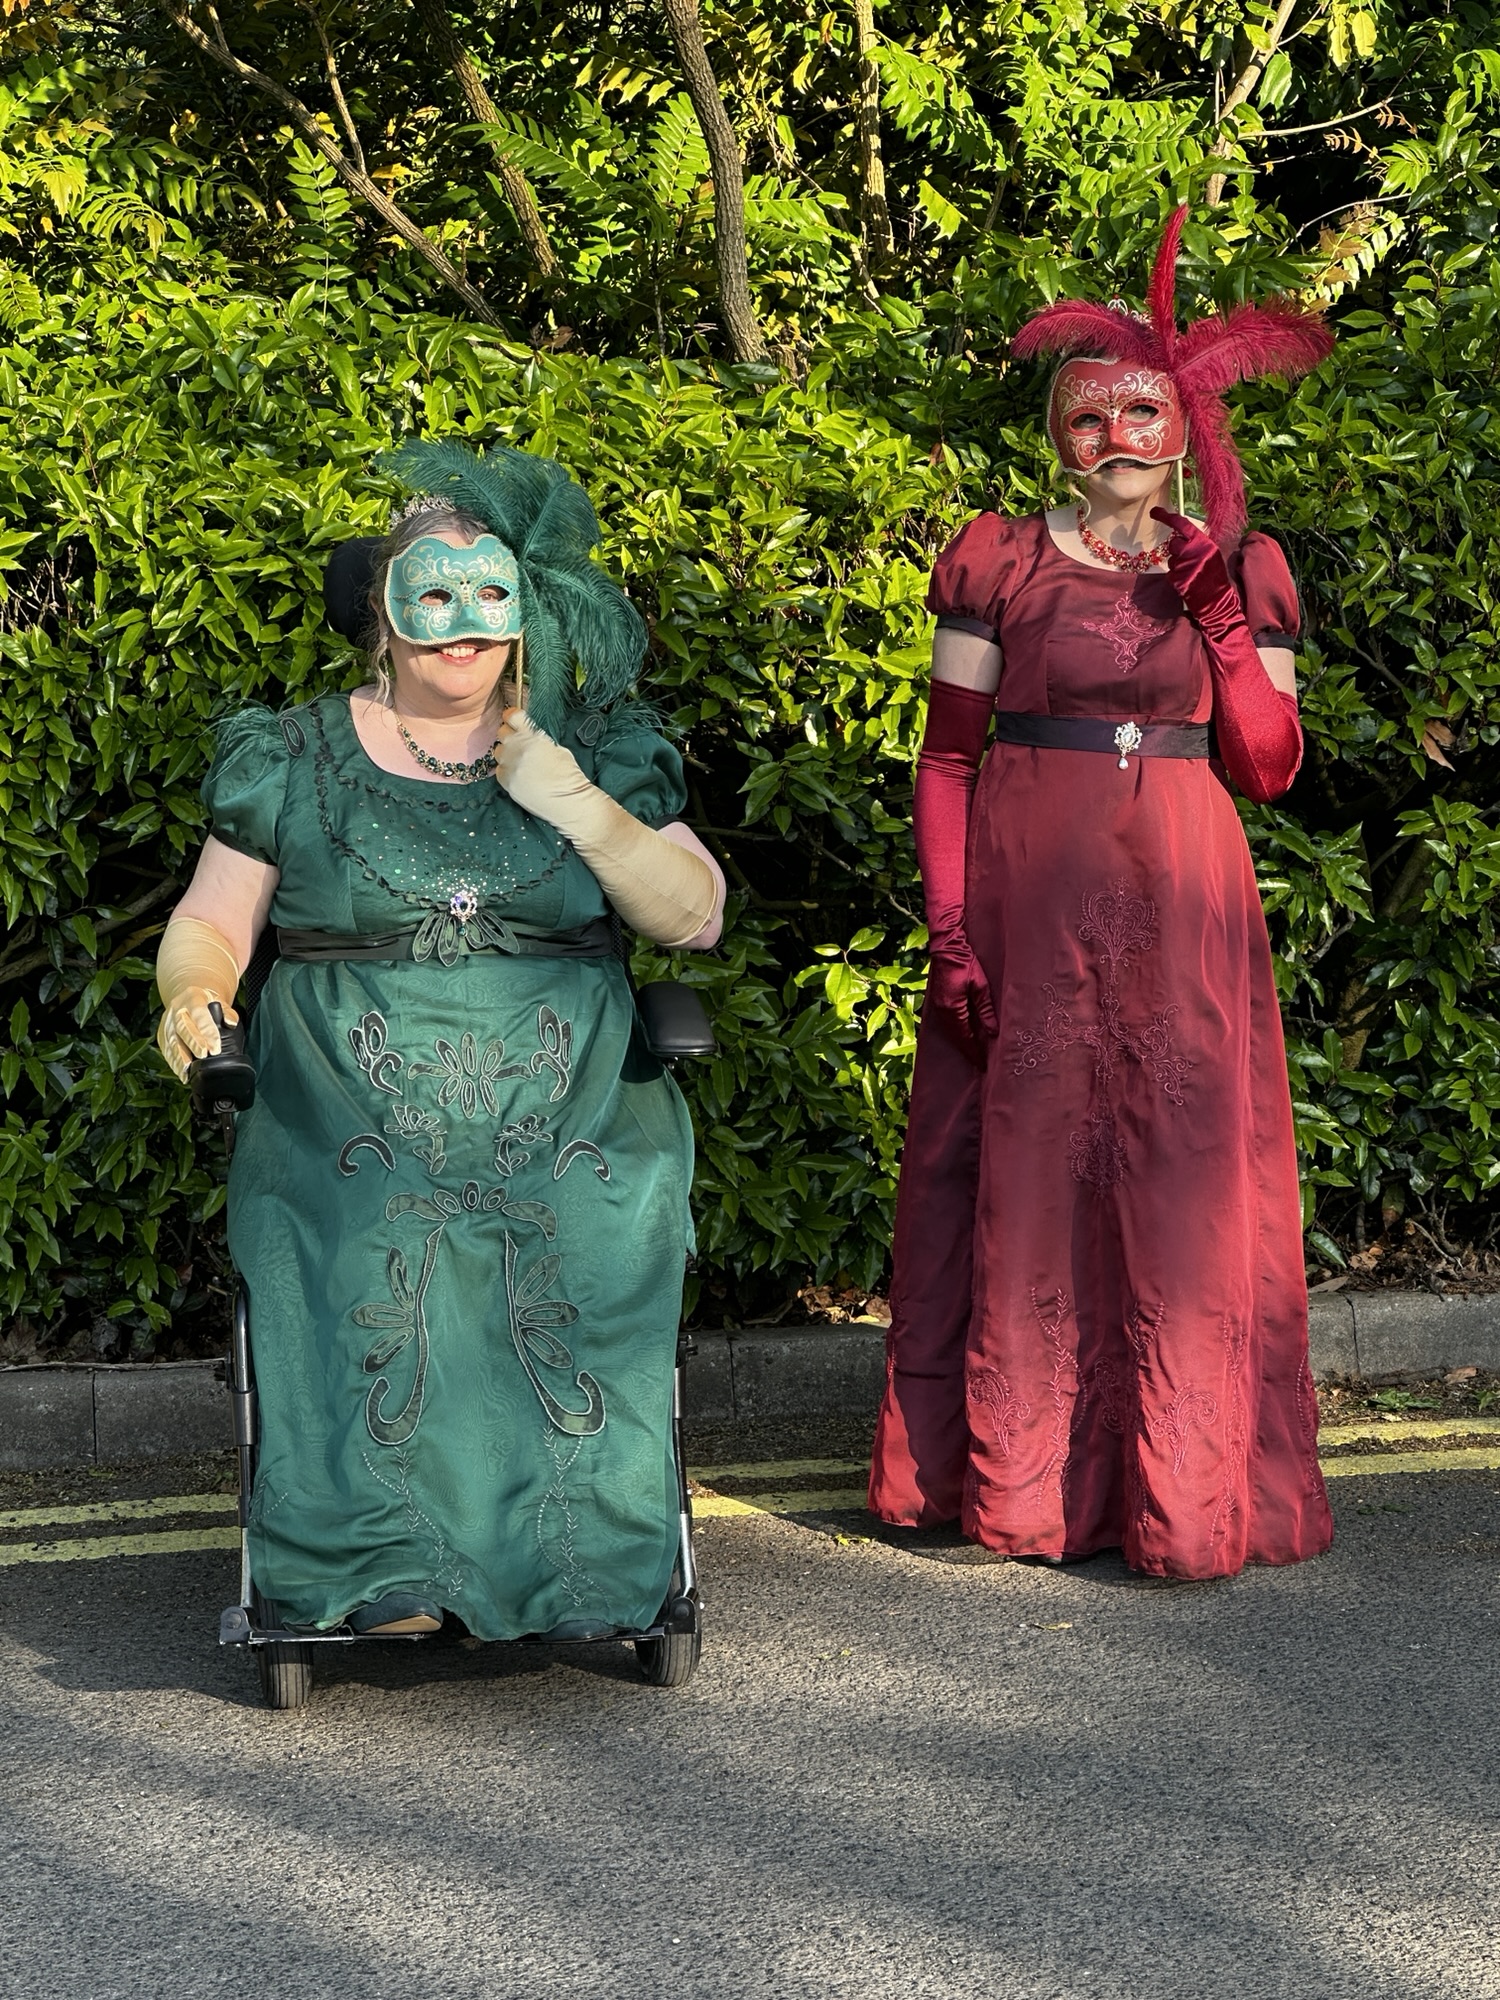

I know this isn’t strictly a sewing make, but a number of people have asked me how I made the masks for the Masquerade Bridgetown Ball and they were an important part of our outfits.


I managed to find the papermache base masks at our local ‘The Works’ shop and was really happy with how sturdy they were. Some others I’d seen in other shops were much thinner (and more expensive ) and I didn’t think they’d support the decoration we had planned.

As the masks were the full face type and I wanted just eye masks I started by marking out a basic shape and then hubby cut this out for me using a combination of a craft knife and a sharp pair of scissors (not my fabric ones). I then sprayed the masks to match our dresses. This was the least satisfactory part as I couldn’t find any paint that matched our dresses as closely as I had hoped but do reluctantly feel the ones I used were an ok compromise.
I initially thought I was going to try and draw a decorative design on the masks (stupid I know with jerky hands) so you can imagine how elated (and relieved) I was when I found a seller on Etsy with wonderful mask designs. They looked so much better than anything I could ever hope to draw and so I purchased the cutting file without a second thought and set my scan and cut machine to work on some champagne coloured vinyl that had just a light sprinkle of glitter.

I was so very lucky for the next part to have my wonderful best friend with me in the sewing room because I honestly would have really struggled without her help and advice. You see in my excitement at seeing the beautiful mask designs online I had failed to appreciate that the designs were flat 2d and my paper-mache masks which they would be sticking onto were obviously 3d, with numerous undulations.
It quickly became apparent that there was no way the designs were just going to slide off their backing paper straight onto the masks in one go as I’d hoped. What followed was quite possibly the most epic intricate cutting shaping and placing sessions you could ever imagine. It felt like we were conducting major brain surgery. It was such an intense experience we ended up splitting it over two days! But eventually we were done. There were no bubbles and the designs were properly stuck down everywhere. (Ok they may not have been completely perfect but we felt very proud of ourselves), it felt like a major achievement.


Next we could really enjoy being creative as we applied hotfix gems. My friend (who is superbly practical) pointed out that if we didn’t get each side perfectly symmetrical it would look terrible, and the likelihood of this happening was pretty high, so suggested an asymmetrical design. I’ll be honest, this kind of put me out of my comfort zone because I’m a symmetrical kind of girl. (Don’t know why but I like things to be balanced). I resisted the urge and went with her advice and she was totally right. She has now been elevated to genius status!


I wanted to cover the edges of the mask and found a wonderful trim, a type of gimp braid, that when folded in half over the edge of the mask was just the right size. I was quite relieved when it stuck so firmly and easily with the hot glue gun.

I did have some trouble finding ostrich feathers that were the right colours, size and thickness but eventually managed to source them from two different suppliers. These also attached well with the hot glue gun.
The final part was attaching the stick. I had decided on a stick rather than ties as I knew we wouldn’t want to keep the masks on all night and didn’t want to faff with taking them on and off. For the stick I just bought some 8mm dowels from Amazon and hubby cut a notch into the top to act as a little support shelf and then I spay painted them in a champagne gold colour. Finally they were attached with the glue gun and some ribbon glued over the end for extra support and to make it more comfortable to wear. To my relief they were surprisingly firm and stable and even withstood me dropping one.

I’m so proud of the masks, they really complimented the gowns and looked exactly as I’d hoped they would. They were so much fun to create especially since I got to share the crafting expedience with both my hubby and bestie.

Leave a Reply